
No matter the accolades that I might have, like Bestselling Author, Best Mom, etc., deep down inside I often feel like an imposter. We all feel like that sometimes. Imposter syndrome can be really negative and hurtful. So what can you do about it? Instead of focusing on those things that you feel you haven’t accomplished, how about congratulating yourself on what you have done! What do you think? Share some things that you’ve accomplished.

P.S. – Still need more to overcome imposter syndrome? Click here for this Forbes article on overcoming the syndrome!
Chile con carne #TuesdayTip
When I think about my Cold Case Reopened book which is set in Colorado, I think about eating a steaming bowl of chile con carne by a campfire. It’s the perfect kind of meal for a cold winter day and I always make a big pot of it to have leftovers! Hope you enjoy it!
Chile con Carne
Ingredients
- 2 pounds beef chunks (chuck or bottom round)
1/2 stalk celery finely chopped
1 carrot finely chopped
1 small onion finely chopped
2 garlic cloves finely chopped
2 tbsp tomato paste
2 tbsp olive oil
1 pound small red chili beans (dried beans; rinsed)
2 tbsp chili powder
1 tbsp cumin
1 tsp sweet paprika
1 tsp Gochujang (Korean chili paste – can be omitted)
32 ounces Chicken or Vegetable Stock
For later addition to the chili:
1 tbsp olive oil
1 medium onion chopped
1/2 red pepper chopped
Salt & pepper to taste
For toppings:
- Chopped Onions/Scallions
Shredded Cheddar Cheese
Sour Cream
Directions
Heat the olive oil in a big stockpot or Dutch oven. Add the beef cubes and brown. Do not overcrowd them because you don’t want them to steam instead of brown. You can also substitute pork or chicken, but if you use chicken, you may need to adjust the cooking time as it may break up faster than either beef or pork. Remove beef from the pot and place in another dish for now.
Add the celery, onions, and carrot and cook for about 3-4 minutes. Add the garlic and cook for about a minute. Then add the tomato paste and cook for another couple of minutes.
Add the meat back to this pan. Add the beans (make sure you rinsed and picked them through for stones). Add the stock. It should cover all the meat and beans. Add the chili powder, paprika, cumin, and Gochujang and stir.
Cook at a low boil on the stove for 2 to 3 hours. If you are cooking in a Dutch oven or ovenproof pot, you can cook the chile in the oven at 325 degrees for a few hours.
The beans and meat should be tender within two to three hours. Since the original carrots, celery, and onions will have dissolved by now, it’s time to add the other onion and red pepper. Fry them up with the olive oil and then add to the chili.
Once the meat and beans are tender, lower the heat to keep the chili warm. If it has too much liquid, let it simmer without the top to reduce the liquid.
Serve the chile with the toppings! You can also break up some tortilla chips and dice some avocados to also use as toppings.
As I mentioned before, you can change this up by using pork or chicken. You can also substitute ground beef or turkey. As for the heat level, if you love heat, add more of the Gochujang. If you can’t find this red pepper paste, use cayenne, hot sauce, or chiles in adobe. You should be able to find those in the Spanish section of your grocery store.

#TuesdayTip – Cuban Flan
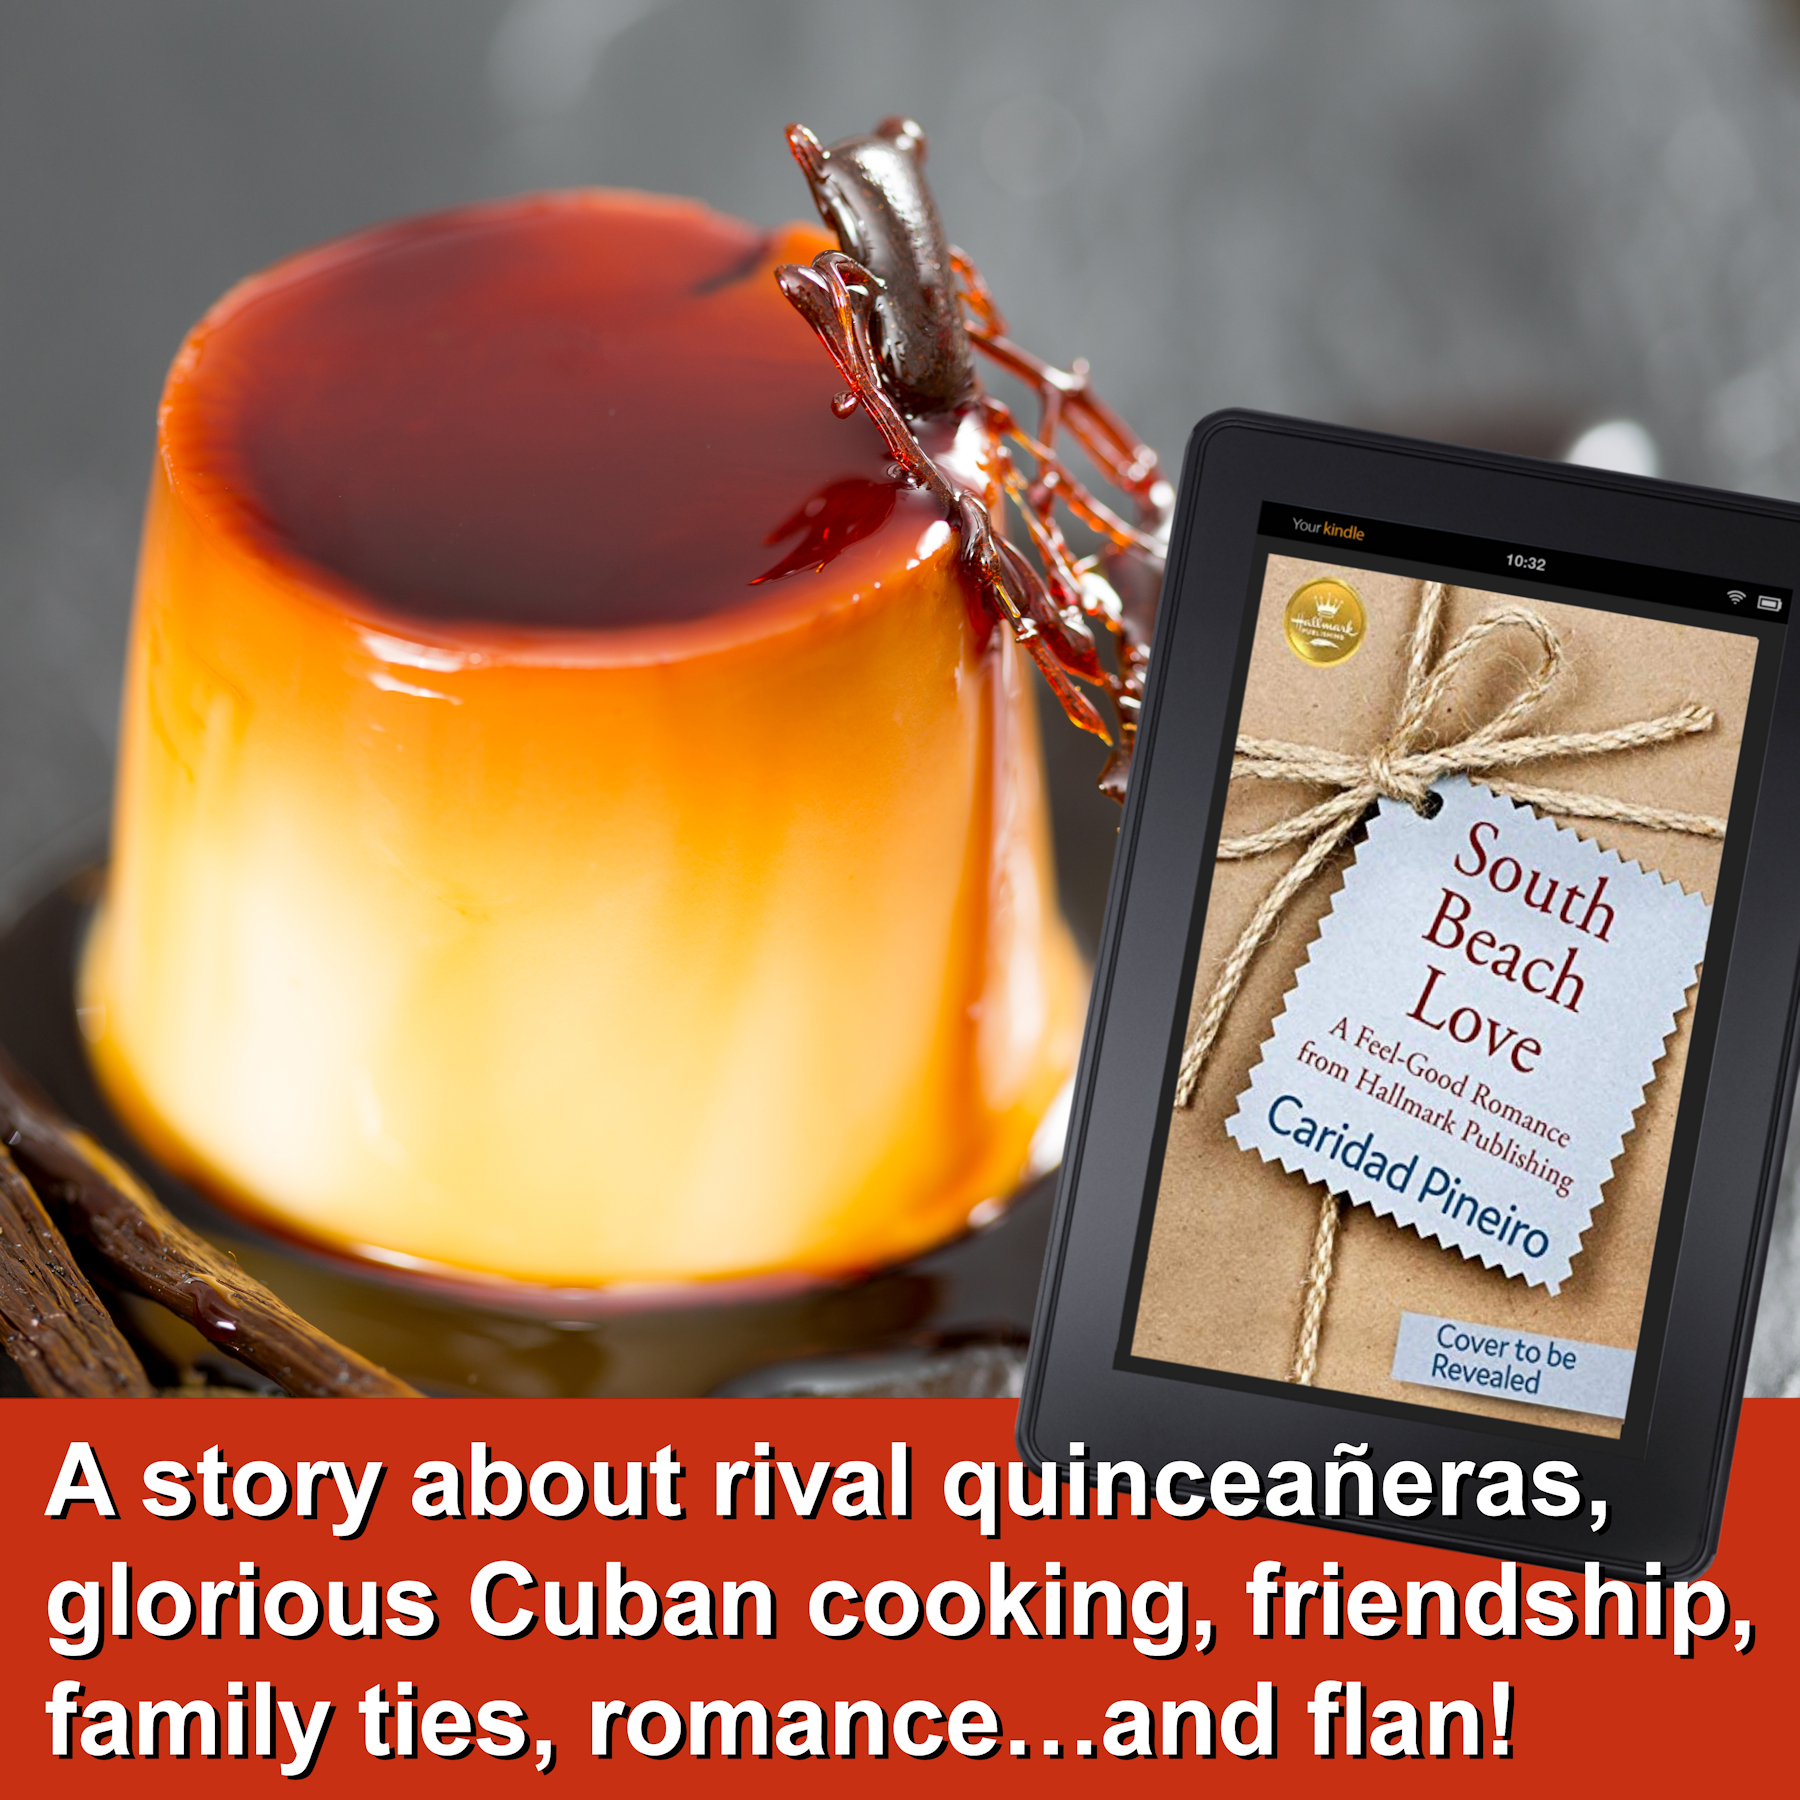
Flan is one of my fav desserts and a staple at our Christmas table and other holidays! It’s creamy, sweet, and oh so tasty. In SOUTH BEACH LOVE the two competing chefs make a number of different flavored flans, including a mango flan. Nom nom. Today’s tip is a recipe for a traditional Cuban flan and I hope you like it and try it. If you do, I’d love to hear how it comes out for you. To get the recipe, please visit https://www.caridad.com/2006/11/08/cuban-flan/.
How to Write a Book with Caridad and Cathy Areu – #TuesdayTip
It’s January and a time for New Year Resolutions for many and some of you might have writing a book on that list of resolutions. So join me and Cathy Areu, the publisher of Catalina magazine, as well as a journalist and author as we discuss how to write a book and the publishing industry in general. Settle into a comfortable chair, get your coffee ready, and plug-in those headphones for this fun and informative podcast! You can visit with us at http://bit.ly/CaridadHowtoWriteaBook.

#TuesdayTip – Cuban-Style Roast Pork
In our home, Christmas Eve is a mix of Italian, Cuban and American foods, but the signature dish has to be the Cuban-style citrus-marinated roast pork.
Normally I’m feeding anywhere from 15 to 25 people on Christmas Eve, but with us downsizing and the pandemic, we’re having a much smaller gathering. I normally get a pork leg that weighs around 25 pounds, but will be adjusting this recipe to deal with a smaller piece of pork.
In SOUTH BEACH LOVE, my May 2021 release from Hallmark, the two dueling chefs are both working on roast pork recipes for their big events. Tony Sanchez, the hero, is using the Cuban spices on Italian-style porchetta while the heroine, Sara Kelly, is learning the traditional recipe from her Cuban sister-in-law. who do you think will win that challenge? You can find out more about SOUTH BEACH LOVE at http://bit.ly/SouthBeachLove.
Ingredients:
-
10-15 navel oranges
10 lemons
10 limes
6-8 Seville (aka Sour) Oranges
6 pink grapefruit
10-20 gloves of finely chopped garlic
Ground cumin
bay leaves
Pork leg/shoulder/picnic ham
Directions:
Juice all the above citrus into a large pot. We use one of those large buckets in which your grocery store deli gets its potato salad, etc. Drop by and ask them for one! Ours is only used for the Christmas Eve pork.
The citrus mix should be sour, but with a strong hit of sweet (the navel oranges and grapefruit really help with that). You should have enough citrus juice to fully cover your piece of pork. Once you’ve tasted the sweet/sour mix, then add 3 to 4 bay leaves, about a half cup of garlic (less for a smaller piece of pork) and about 1/4 cup of cumin. Mix this all up.
Take your piece of pork and make multiple slits in it so that the marinade can penetrate into the meat. Place the pork leg in the citrus juice, cover, and refrigerate. You’re probably wondering how I keep that big a bucket cold? Put the bucket in one of those big party tubs or a cooler, place it in your garage (which should be slightly colder anyway) and fill the tub with ice. It should be icy cold in the morning unless you are in a really hot environment in which case you will need to keep on adding ice to keep the meat cold.
In the morning (around 6 a.m. or so) pre-heat the oven to 425. Remove the pork from the citrus and place it in a large roasting dish. Keep some of the citrus juice, bay leaves and garlic for use as a marinade. Discard the rest. Ladle about 1 to 2 cups over the pork and then stick the pork into the oven for one hour at 425. For a small piece of pork, cut down this initial high temp roast accordingly. For ten pounds make it around 30 minutes, anything smaller than that no more than about 15 minutes.
Do not baste the pork during this high heat roast.
When the high heat roast time is up, baste the pork and lower the oven temp to 325. Then cook until the meat pulls away from the bone in the leg and is starting to fall off. Marinate every half an hour during the cooking process. For a 25-pound pork leg, I will cook it for about 8 to 9 hours. The pork will turn a beautiful mahogany brown and just melt in your mouth.
For smaller pieces of pork, adjust the cooking times. A 10-pound picnic ham may take only about 4 or so hours. The key is to keep on basting and cooking at a low temp to keep the meat juicy.
If the pork begins to brown too much, just cover with aluminum and keep on cooking until the meat is fork-tender.

Creamy Pesto Macaroni Salad
This is an easy and adaptable macaroni salad recipe that’s just perfect for a summer BBQ or picnic. It doesn’t take all that long to prepare and you can mix in your favorite vegetables and change it up as you see fit.
Ingredients
- 1 box Barilla Elbows
2 cups chopped tomatoes
1 cup chopped cucumbers
1/2 cup chopped onions
1/2 cup chopped red (or orange) peppers
1/2 cup shredded carrots
8 ounces diced mozzarella cheese
1 cup basil leaves
1 clove garlic
3 heaping tablespoons mayonnaise
1/4 cup olive oil
Salt and Pepper to taste
Directions
Follow directions on the box for cooking the elbows. I use Barilla elbows because they have ridges that hold the dressing better and normally cook them for about 7 minutes so they are al dente. Once cooked, rinse with cold water and drain.
To make the creamy pesto dressing, coarsely chop the basil and garlic. Place in either a blender or food processor, or use an immersion blender to mix. Add the oil and mayonnaise and mix until completely blended. For more punch, think about adding some grated parmesan to the dressing if you’d like. If you’re adding parmesan, you may want to hold back on the salt at this stage, but salt and pepper to taste. If you like it more garlicky, add additional cloves before you mix the dressing in your blender or food processor.
If you really like basil, double up the amount and add a little more oil and mayo to keep the dressing smooth. Or just make a chiffonade of the basil and mix it in!
Place macaroni in a large bowl and add the dressing. Mix well.
Add the tomatoes, cucumbers, onions, red peppers, carrots, and cheese and mix again. I used both red and yellow grape tomatoes to add a punch of color to the salad.
To change things up, consider using these ingredients as additions to the salad:
- scallions, greens included
salami
pitted green olives
marinated artichokes
celery (I like the greens better than the stalk)
Peas
I’d love to hear from you if you try the recipe and if you added anything different to the mix!

#TuesdayTip – Organic Gardening Tips
I’ve gotten my garden in, but like many have to deal with pests and weeds. Today I’ve got some tips for you on how to deal with a common pest – the fungus gnat – as well as weeds. Both of these ways avoid using pesticides and nasty weed killers in order to keep you and your loved ones safe.
Fungus Gnat Treatment
Fungus gnats are one of the most annoying and common insects in your garden and houseplants. Once they get established, they can be devastating and they can also bite. Ugh. The treatment actually targets their food and not the actual insect. But eliminate their meals and you eliminate them.
The easy fix is to take a tablespoon or two of ground cinnamon and work it into the top inch or so of soil in the pot. You can water lightly, but if at all possible, let the soil get dry. Before you water again, treat again with the cinnamon and water lightly. Let it dry again and by now the fungus gnats will hopefully be gone!
Weed Killer
I’m sure you’ve seen the news about the possible cancer risks of certain weed killers. This mix has nothing harmful and it’s great for walkways and other places where you want to stop weeds. Just one word of warning: Since it does contain salt you may not want to use it on certain pavers or if you eventually want to plant in that area or where it can runoff into gardening areas. Salted soil will definitely negatively impact any future plants. Otherwise, this is great for controlling weeds without harming people or pets.
Thanks to my nephew for his formula, affectionately called “Italian dressing.”
Fill a squirt bottle almost to the top with distilled white vinegar which is cheap and easy to find.
Add several drops of dishwashing liquid.
Add a few tablespoons of plain salt. You can also use epsom salts.
Shake until salt is dissolved and spray away anywhere you want to kill or stop weeds.