There is nothing better on a cold, winter day than a nice, hot bowl of something warm to fill your belly. Soup is often on the menu in our house, but I often change it up with some chili. Apologies to all the Texans out there, but my chili always has beans because I love beans and they are good for you! This is an easy, cook-all-day chili with lots of flavor and goodness! Plus, you have enough for leftovers on another day! P.S. If you’re like me and counting down the days until the start of the baseball season, fill that gap with WINNING SEASON, my baseball romance. It’s free on Kindle Unlimited! If you love sports romances, baseball, and a second chance at love story, grab your copy today at https://amzn.to/4qMiX8I. P.P.S. This girl is in need of a new baseball team. I just can’t root for the Mets anymore. Any suggestions?
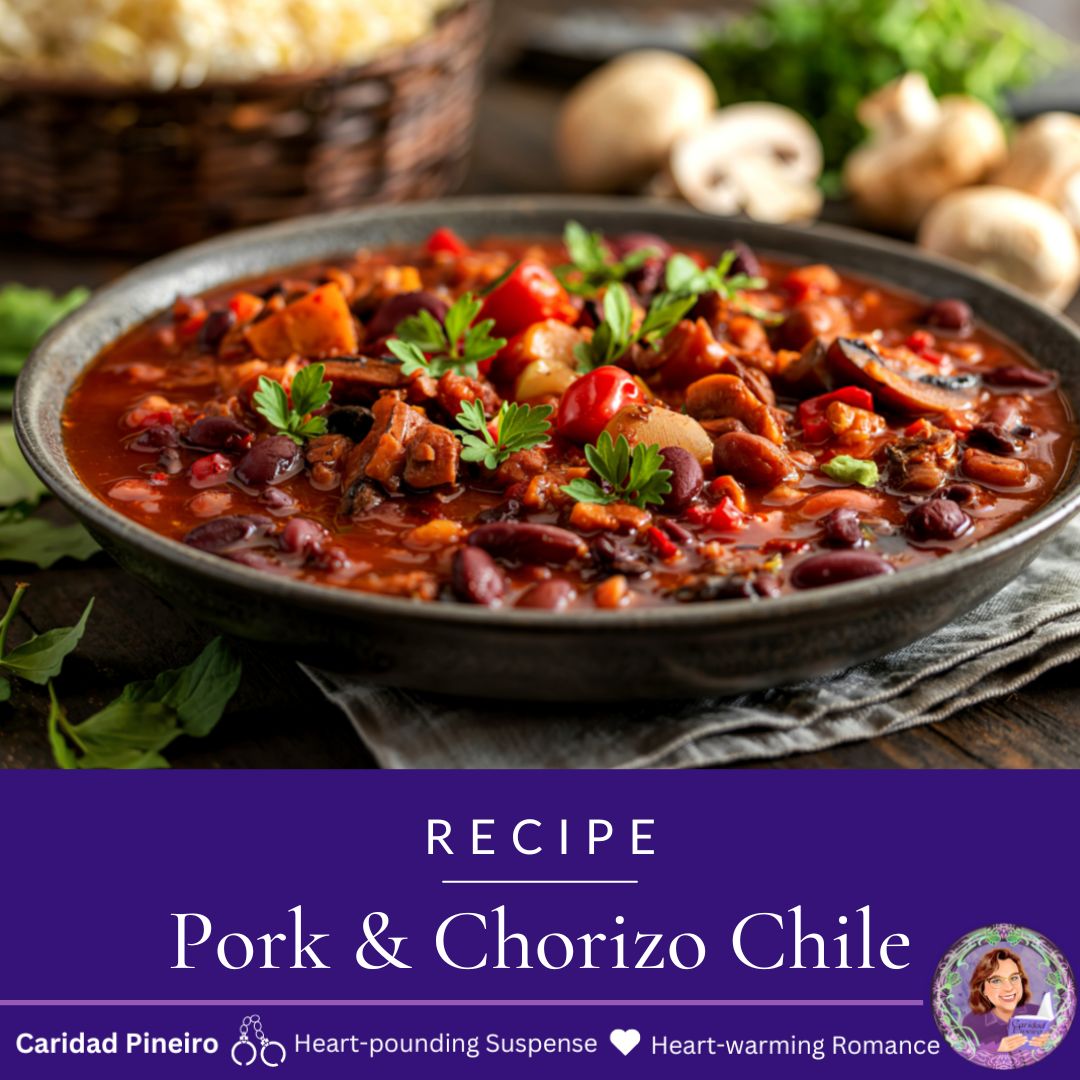
Chorizo & Pork Red Bean Chili
Ingredients:
1 lb red beans
2 lbs pork loin chopped
2 small Spanish chorizos chopped
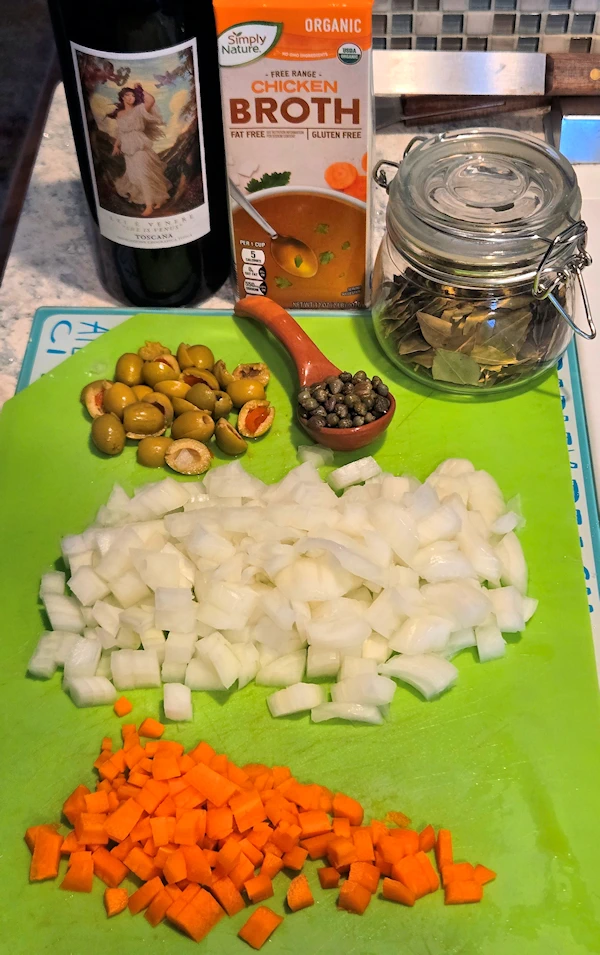
1 cup chopped onions
3 chopped garlic cloves
1 28 oz can crushed tomatoes
1 can Rotel tomato and chili
3 tablespoon chili powder
1 tablespoon cumin
3 bay leaves
Directions:
Wash and check red beans for stones and debris. Soak for an hour to lessen the cooking time. Drain when you are ready to add to the main cooking pot.
Place a little oil in a non-stick pot and add the chopped chorizo. Cook for about 5 minutes, then add the chopped pork loin. Why chopped pork loin? Well, Cubans and pork go together like peanut butter and jelly. Also, it’s lean and has a lot less fat than a chuck roast, so I use those calories for the tastier chorizo.
Add the onions and garlic and cook with the meat until they are all just starting to brown. You want the brown on both the meat and veggies since these are the sugars caramelizing on them and will add flavor to your chili. Feel free to also clean out your fridge and add carrots, celery, etc. during this step.
Add the canned tomatoes, Rotel, and enough water to cover the meat and beans. Bring to a boil and then lower to a slow simmer. Cook until the beans and meat are soft. This may take 3-4 hours.
We ate our chili with some chopped fresh tomatoes, chopped onions, and grated cheddar cheese. You can also put some sour cream on top if you want!