Like always I’m working on eating healthier and losing weight. One of the things I’ve been trying to focus on is eating a healthy breakfast since studies show that helps in balancing your blood sugar levels and recharges your metabolism.
One breakfast item I’ve always loved is oatmeal, but if you’re like me and running around in the morning, you oftentimes forget to get it ready to take to work, which is were I usually eat breakfast since I get into the office early. I resolved to do better by packing the oatmeal at night and for good measure, adding in my unsweetened vanilla almond milk (saving those animal fats for cheese!).
Making the overnight oats made sure I wasn’t forgetting them, but I got to wondering if there was any benefit to them versus hot oatmeal. Voila, apparently there is! Not cooking the oats allows for the absorption of more nutrients, the overnight oats can be creamier, and they swell more which means the same dry amount will be larger in volume. That will lead to feeling more full. All pluses. For more on the benefits of overnight oats, check out:
- http://www.eatthis.com/health-benefits-overnight-oats/
- https://drhealthbenefits.com/food-bevarages/food/health-benefits-of-overnight-oats
- http://www.bistromd.com/articles/why-you-should-be-making-overnight-oats
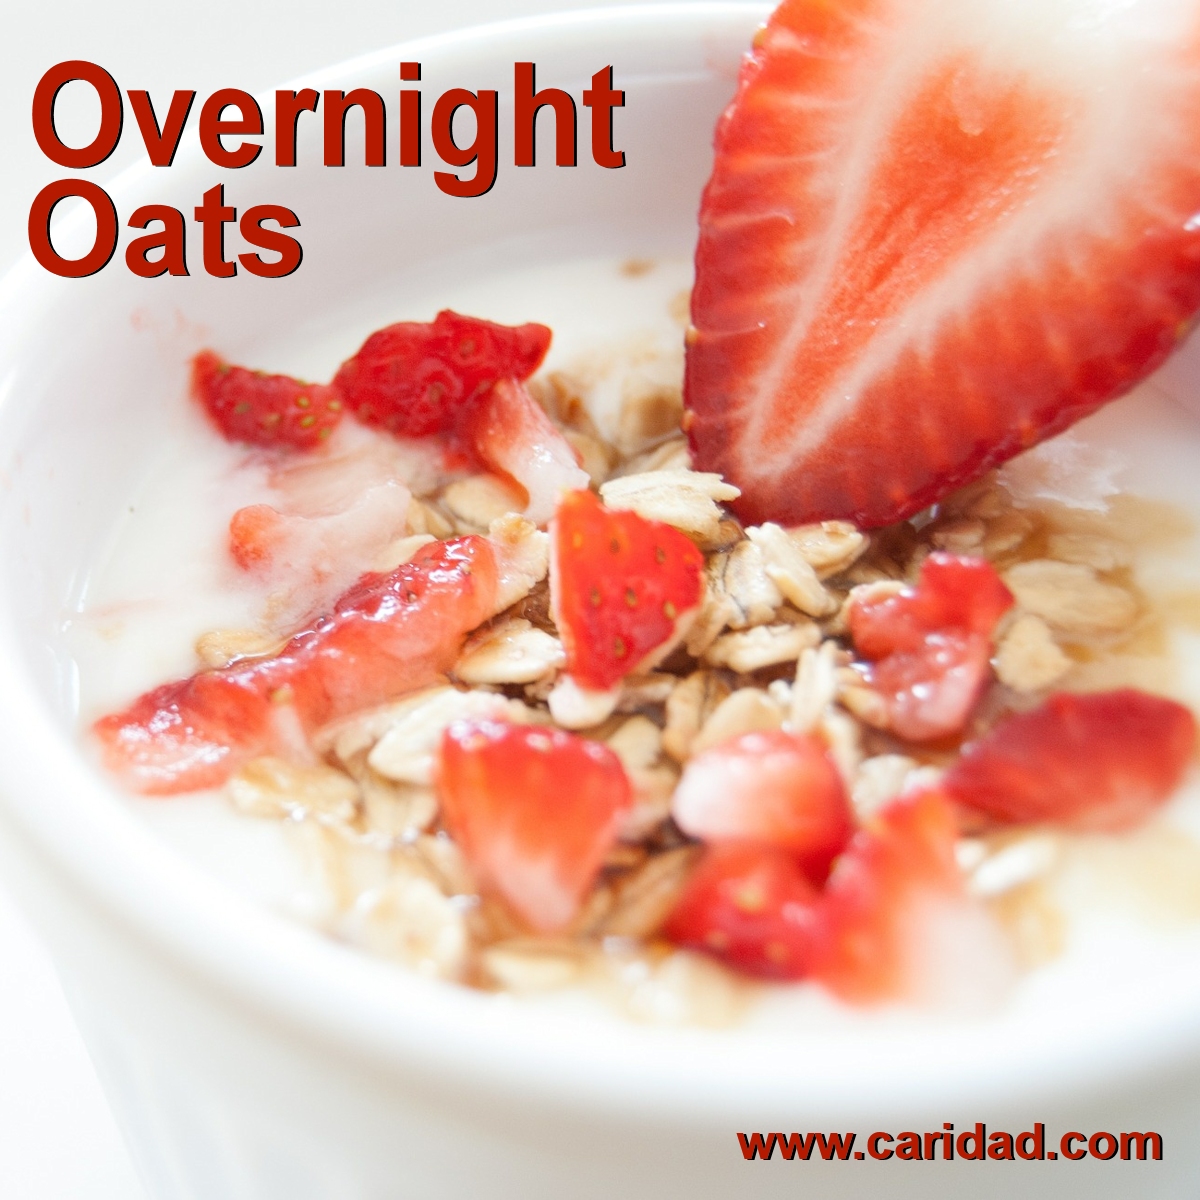
Add some fruit or even some chia seeds for extra anti-oxidants and protein!